WordPress on Docker in less than 1 minute

I'm a Software Developer, frontend oriented, with a great passion for IT. I enjoy writing JavaScript code to develop web and mobile applications. I love Cycling, Outdoor and Nature.
I started developing websites with WordPress in 2015, and as we all know, IT runs fast and we insiders have to keep up!
One of the things I've always been interested in is having a flexible and high-performance development environment. For this reason in my experience as a developer I have tried different tools such as Local By FlyWheel, MAMP Pro, XAMPP, just to name a few.
Then one day I discovered Docker and started to dig deeper, here it is explained briefly:
Docker is a set of platform as a service (PaaS) products that use OS-level virtualization to deliver software in packages called containers. Containers are isolated from one another and bundle their own software, libraries and configuration files; they can communicate with each other through well-defined channels. Because all of the containers share the services of a single operating system kernel, they use fewer resources than virtual machines.
Source Wikipedia
Installation
If you don't have Docker installed on your machine yet you should do it! 😎 Start here by downloading the installation file based on your operating system (in my case, MacOS) and follow the procedure.
Docker Compose
In this short guide I will be using Docker Compose. Compose is a tool for defining and running multi-container Docker applications. With Docker Compose we can use a YAML file to configure the services of our application. Then, with a single command, we create and launch all the services of our development environment.
Project structure
docker-wp-config/
├── data/
│   └── backup_db.sql
├── docker/
│   └── Dockerfile
├── public/
│   └── wp-admin/
│   └── wp-content/
│   └── wp-includes/
├── scripts/
│   └── dump.sh
├── .gitignore
├── docker-compose.yaml
└── README.md
Below is the docker-compose.yaml file located in the root folder of the project:
version: '3.1'

services:

  # Wordpress
  wordpress:
    build:
      context: ./docker
      dockerfile: Dockerfile
    ports:
      - 7500:80
    environment:
      WORDPRESS_DB_HOST: mysql
      WORDPRESS_DB_USER: root
      WORDPRESS_DB_PASSWORD: root
      WORDPRESS_DB_NAME: docker_wp_config
    volumes:
      - ./public:/var/www/html

  # MySql
  mysql:
    image: mysql:5.7
    ports:
      - 7501:3306
    environment:
      MYSQL_USER: root
      MYSQL_ROOT_PASSWORD: root
      MYSQL_DATABASE: docker_wp_config

  # PhpMyAdmin
  phpmyadmin:
    image: phpmyadmin/phpmyadmin:latest
    links:
      - mysql
    ports:
      - 7502:80
    environment:
      PMA_HOST: mysql
      PMA_USER: root
      PMA_PASSWORD: root

volumes:
  wordpress:
  mysql:
  phpmyadmin:
To manage dependencies and services of the container I used a Dockerfile inside the docker/ folder (in this case I only added the WordPress docker image but you can add all the features you need depending on the use case):
FROM wordpress:latest
Start environment 🚀
At this point we are ready to start our development environment! And we can do this by opening our favorite terminal, I usually use the built-in Visual Studio Code(💙), and running the following command from the project root:
$ docker-compose up -d
On first launch it will download all the images defined in our docker-compose.yaml file and start the container. With the -d option we are simply telling Docker to leave the container running in the background.
In the public/ folder we will find the files of our WordPress installation, this is because we have specified, in the YAML file, where to copy the files from the wp image to our project:
volumes:
 - ./public:/var/www/html
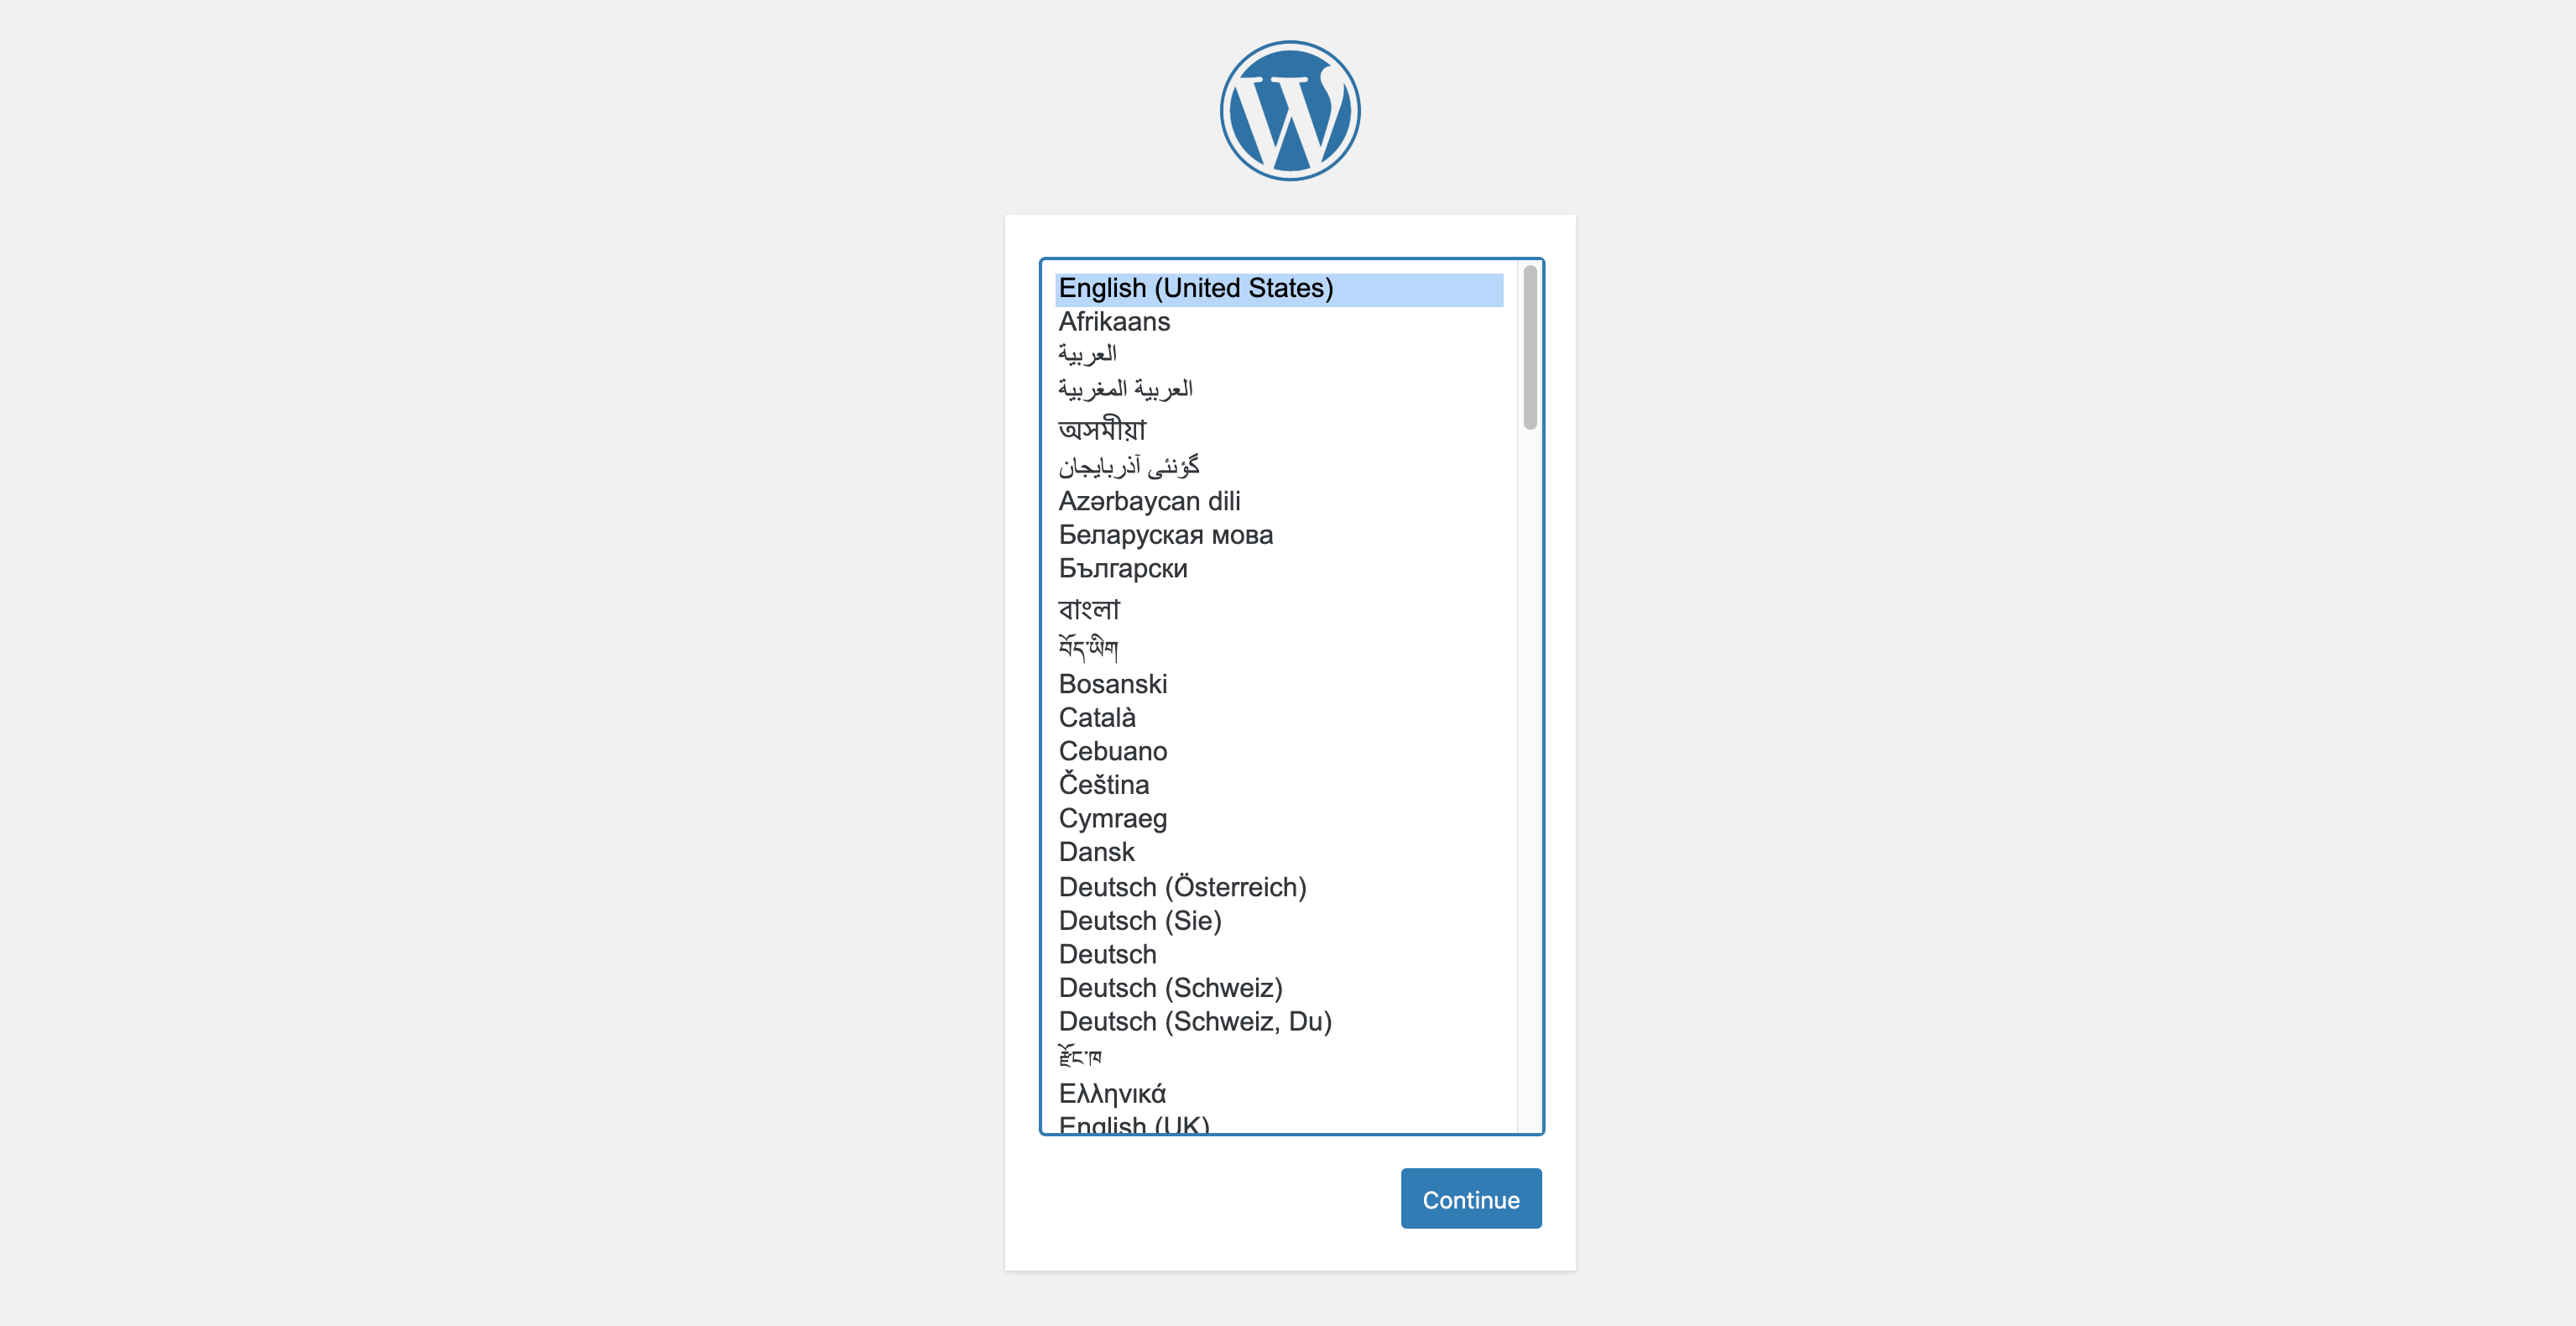
Now let's open a web browser and write the following url http://localhost:7500. If we have done the procedure correctly we will have to see the WordPress setup:
Conclusions
The first setup may seem complex, in reality once we understand the functioning, the potential and the flexibility of Docker Compose we just need to copy the docker-compose.yaml file in a new project and in less than 1 minute we will have a new clean environment and quick to work on.
